
Recipe Source: D23 Website – click here for full recipe.
Recipe Name: Hidden Mickey Halloween Cookies
Ingredients:
For the cookies:
- 1 cup (2 sticks) unsalted butter, melted and cooled a bit
- ¾ cup white sugar
- 1 tsp vanilla
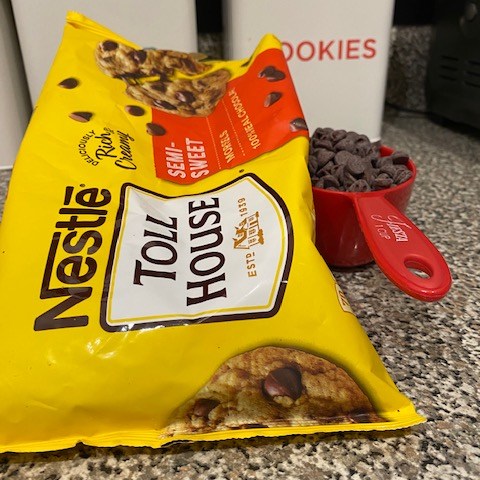
- 1 cup semisweet chocolate chips, melted and cooled
- 1 egg
- 1 and ½ cups all-purpose flour
- ¾ cup cocoa powder
- 1 tsp Kosher salt
- ½ tsp baking soda
For the icing:
- ½ cup butter, softened
- 1 and ⅔ cup powdered sugar
- 1 tsp vanilla
- 1 tbsp milk
- Pinch of salt
- Food coloring
The Cooking:
Confetti here! I love Disney, Halloween, chocolate, and cookies, so I knew the minute I saw these cookies on the D23 website that I wanted to make them. It’s been a busier month, so one of the most challenging parts of the recipe was really just finding the time to bake.
The good news is that I had the majority of ingredients on hand already, so when I found the time, I was able to jump right in.
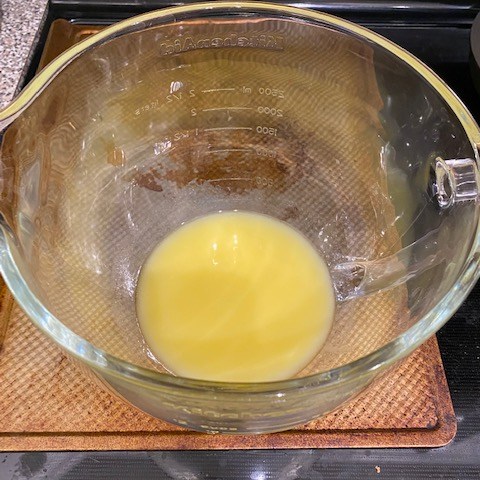
I have a glass mixing bowl, so I melted my butter in that. While that cooled, I went ahead and melted the chocolate chips in a small pan on my stove. I took that off the heat and set it to cool.

In a medium bowl, I combined my flour, cocoa powder, salt, and baking soda. Then, I set it aside to add in later.
I used my whisk attachment to combine the sugar with the butter in my mixer. Then I whisked in the vanilla and melted chocolate chips. Once all of that was incorporated, I mixed in the egg.
I switched back to the paddle attachment and added in the dry ingredient mixture I had set aside earlier. I mixed it until it was all well combined. Then I left it alone for an hour so it wouldn’t be quite so soft.


After an hour had passed, I formed the dough into a log on wax paper. This is a step I struggled with because I’m not great at identifying sizes. The log was supposed to be 2 ½ inches in diameter, but mine was definitely much bigger. Once the log was formed, I put it into the fridge to chill for 2 hours.
After two hours had passed, I preheated the oven to 325. Then I pulled the cookie log out of the fridge. I sliced the cookies with a pastry cutter. My cookies were bigger than they should have been because my log was bigger. I struggled with finding the right thickness to cut the cookie. 2 inches seemed too thick to me, but any thinner and the cookies fell apart.
Once the cookies had been cut out, Chaos helped me by making the Mickey heads on half the cookies.

Then, we baked them for 15 minutes.
While the cookies baked, I made the icing. The icing was pretty much just a standard icing recipe – beat the butter, then add other ingredients while continuing to beat until smooth. Add milk until you’re happy with the icing consistency. At this point, you could then separate the icing out and add in the food coloring. I was lazy and just did all one color, so added the food coloring directly to my mixing bowl.

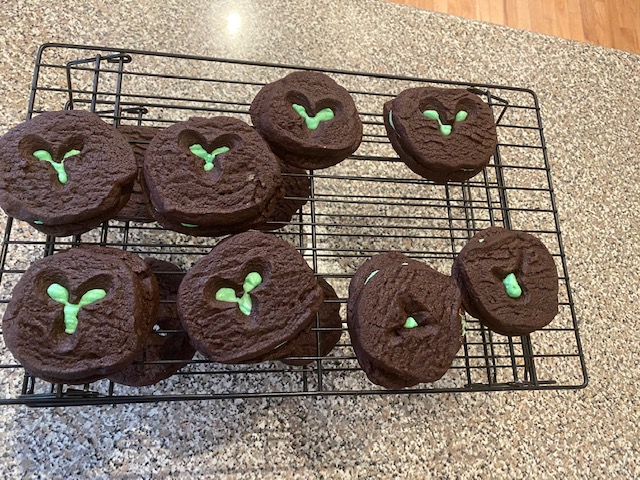
After the cookies had come out of the oven and cooled, I iced them. You can do this with a piping bag or just with a spoon. I used a piping bag for the majority of the cookies
And voila! All done.

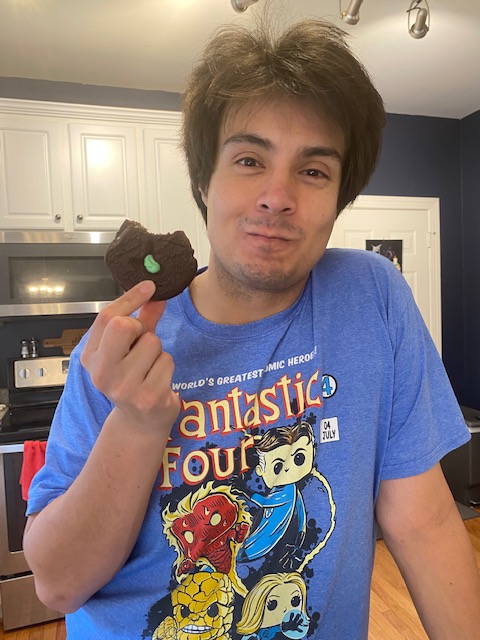
Chaos’ Thoughts on Taste:
Overall, I thought it was a pretty decent cookie. I’m not always a huge chocolate person, so I think my favorite part was the icing, but the cookie worked as a good icing delivery transport. The cookies themselve got better after they had some time to sit. They work best with an icing though to add a little more sweetness/moisture.
Confetti’s Thoughts on Taste:
Overall, I think these cookies just turned out OK. I think the fact that I made them too big definitely hurt them because the ratios of cookie/icing were off. The chocolate cookie itself was also not as flavorful as I would have liked it to be. I definitely think some of this was “baker error”. I imagine they’d turn out better if I made them again, but I’m not sure I liked them enough to try.


Leave a comment